Build a Media Centre PC for £129.86
Building a media centre PC for your living room doesn’t need to cost a fortune. With new low power processors with onboard graphics, you can put together a system capable of playing 1080p videos with DTS sound and still get change from £130.

I’ve split the components into two categories – Core and Additional. You need the stuff in Core to get a working system. Anything in Additional can be tailored to your specific requirements.
Crucially, hard drives are listed in additional. Not everyone wants to store all media locally – you might only be interested in web video or you may already have a common storage server set up at home. So bear that in mind when reading.
Core Components
These prices were correct at the time of writing (10/04/13):
Motherboard + Processor – (£51.50 @ eBuyer)
Gigabyte GA-E350N E-350D A45 FCH VGA HDMI 7.1 Channel Audio mITX Motherboard
This combined motherboard and processor package has a Radeon HD 6310 graphics core capable of decoding whatver you want to throw at it without breaking a sweat. It’s a micro ITX board so fits inside small cases, has 7.1 output for your surround set-up and has HDMI built in for direct connection to your TV.
Memory – (£19.98 @ eBuyer)
Crucial 4GB DDR3 1333MHz Memory
The motherboard doesn’t have dual channel memory so one 4Gb stick is your best bet to give it a bit of headroom.
Case – (£53.38 @ eBuyer)
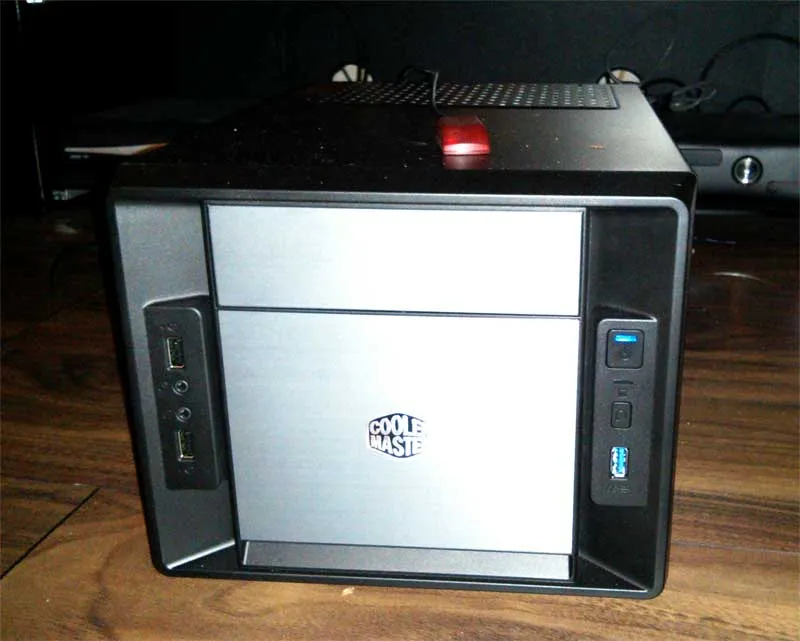
Coolermaster Elite 120 Advanced Mini ITX Case With Elite 500W PSU
You could get away with a smaller case than this and also a lower rated power supply but this was the best value for money I came across when investigating. Depsite the small size, this case incorporates a good quality PSU and has space for 3 3.5″ HDDs. There’s also space for an optical drive if you want to add one.
OS Drive – (£5.00 @ eBuyer)
Kingston 8GB DataTraveler 101 G2 USB Flash Drive
Since we’re running OpenElec, the operating system will run from a flash drive. Kingston DataTraveler drives are recommended for durability and are low cost so make for a good addition to your system.
Additional Components
DVD Optical Drive (£14.14 @ eBuyer)
Samsung SH-224BB SATA DVD Write Optical Drive
If you want to watch or rip DVDs on your system or do similar with CDs, you’ll need an optical drive. I’ve listed a DVD rather than Blu-ray drive as trying to get Blu-ray playback working on a Linux system isn’t something I’ve gone into.
Remote Control – (£16.33 @ Amazon)
Hama MCE Remote Control
You can control XBMC easily from your mobile phone but, if you want a physical handset, the Hama MCE remote is a good choice. Nice chunky design and support for controlling the cursor on-screen using the pad in the middle.
Hard Drive – (£103.76 @ eBuyer)
WD 3TB Green Desktop Drive
There’s no point going for a 7200rpm drive for a media centre PC. You don’t need to read data from it that quickly. So, it’s best to go for a low-powered, low wattage drive like this. You can go one better with the WD RED Drive at £114.99 but you’ll probably not notice much of a difference.
Assembly
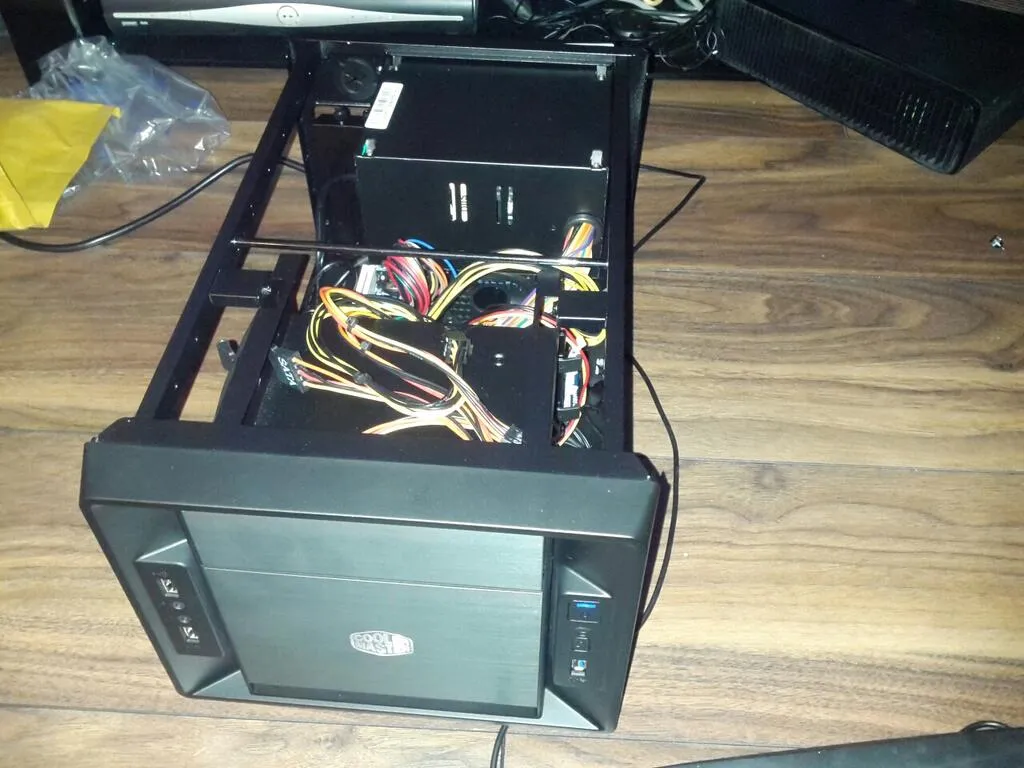
The Coolermaster Elite 120 case is surprisingly roomy inside so installation isn’t complicated. I found it easier to remove the pre-installed power supply first to give me some more working room. The motherboard comes with the processor and fan pre-installed so that’s already done for you.

So, remove the power supply, screw in the motherboard, clip in the memory, connect up the cables and re-install the power supply. For any hard drives you’re installing, there’s plenty of space around the drive cage to run your cables.
Software
Of the various media centre software I’ve tried, I’ve found XBMC to be the one I’m happiest with. Lots of scope for expansion and copes with anything I’ve thrown at it.

To use it as part of a stand-alone media PC, you can use the Fusion build from OpenELEC to create a system that boots directly into XBMC. I’ll not go into the installation instructions here since their installation guide is much more comprehensive but it’s pretty straight-forward.
The Hama MCE Remote Control works out of the box as well with XBMC/OpenElec so there’s nothing to configure there.
Go and enjoy. Feel free to chip in with any comments, questions or suggestions for better components.